Skip to content
May 1, 2026
My Blog
My WordPress Blog
Primary Menu
Home
Decoration
Design
Furniture
Windows
Appliances
Home Improvement
Cleaning
Electrician
Flooring
Plumbing
Pest control
Painting
Kitchen
Roofing
Interior
Real Estate
Construction
Restoration
Remodeling
Contact Us
Search for:
Home
Add Plumbing
Add Plumbing
Post navigation
Previous
Add Plumbing
Leave a Reply
Cancel reply
You must be
logged in
to post a comment.
You may have missed
Kitchen
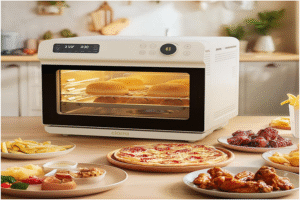
The Best Way to Reheat Waffles in the Oven: A Complete Guide for Perfect Crispiness
1 month ago
admin
Home Improvement
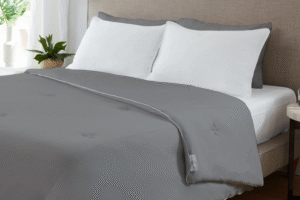
The Ultimate Sleep Sanctuary: Why Hypoallergenic Cooling Sheets Are a Game Changer
3 months ago
admin
Real Estate
Land Ownership and Home Design: How They Work Together
3 months ago
admin
Home Appliances
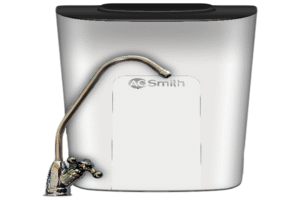
Why Storage Water Heaters Remain the Most Reliable Choice for Large Families
3 months ago
admin